IRIS TUTORIAL
Adjust aspect of B&W image
Modify
brightness and contrast
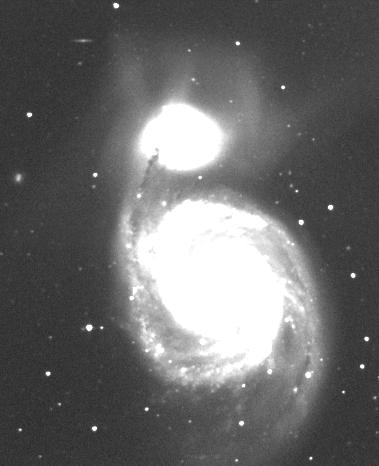
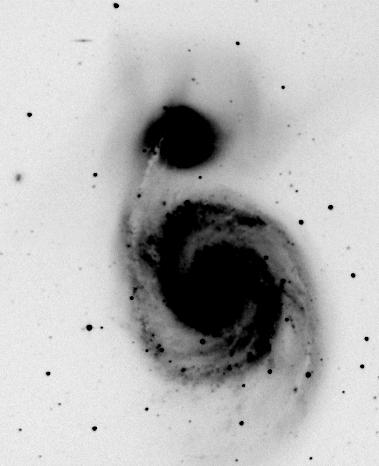
Open the M51 image:
>LOAD M51
Important note about command lines: It is always possible to go back to a previous command by using the directionnal pad key and edit the text. You can run again the command simply by pressing the <Enter> key (the cursor position within the line does not matter). You can take the opportunity to modify the command parameters for example. This is very convenient for operations you want to repeat many times. All the usual text editors functions are availables (insert, suppress, copy and paste, ...).
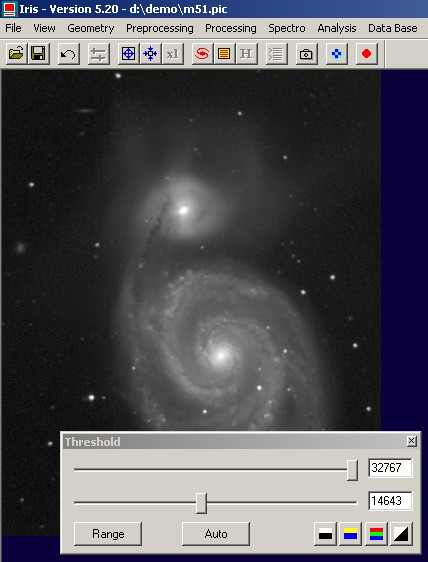
Act on the upper curseur of the Threshold dialog:
The operation modify the brightness part of the image and permit to see faint details. Here the result:
An equivalent effect is possible from the command console. Enter this new command at the prompt position:
>VISU 480 0
VISU is a major element of command set of Iris. Understand the use of this command is essential.
We will simply remind you that visualization consists of displaying each pixel of the image on the screen with values of varying brightness. In general, the intensity of a screen pixel is proportional to the level of the corresponding pixel in the image.
Levels in the image are constrained by two bounds: the upper threshold that limits the strongest intensities in the image, and the lower threshold, that limits the weakest intensities. Pixels having intensities upper to the high threshold are white. Pixels having intensities lower to the low threshold are black. Grey levels of the display are distribued between the high and low threshold. VISU command is allowed for modify the visualization threshold of the current image. The syntax is:
VISU [UPPER THRESHOLD] [LOWER THRESHOLD]
The major problem of visualization topic is that the number of gray levels available for display an image is usually much lower than the number of levels in the image. Without processing (usually modification of histogram of the image), it is difficult to examine all the dynamics of an image just with one visualization. The classical solution is to try couple of threshold. Enter for example (or edit an ancient command):
>VISU 6000 0
>VISU 12000 0
Tip: If you invert the intensities of high and low threshlod, the result is a negative view of the objet:
>VISU 50 600
Note the new aspects of the threshold box:
VISU command modify the cursor positions. Act on the cursor interactively or modify parameters of VISU command is equivalent.
Note that the selecting threshold has no effect on how the image is stored in memory. It only changes how it is displayed on the sceen.
If the threshold box is not visible, click on the Threshold button on the toolbar:
Modify color palette
You can also easily modify the color palette. Four colors palette are preprogrammed. Test by clicking on the palette button:
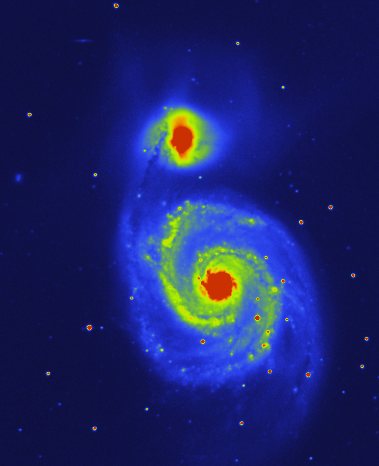
Example of false color display:
Tip: How to export the false color palet with the image ? Use the SAVEBMP command, i.e.
>SAVEBMP MYSIMAGE
Draw isophotes
Select the standard palette (B&W) and run the Logarithm command of the View menu. A logarithm stretch is computed, a simple method, but often efficient! Adjust the threshold for a correct visualization of all part of the galaxy:
From the log image draw isophote image. Because the image is logarithmic, the step between successive isophotes is proportional to surfacic magnitude. First save the image in a temporal file, for example:
>SAVE TMP
Get the size of the image. The information is returned by the in-line command INFO. You can also use the Image info... function on File menu. The M51 image format is 379x466 pixels.
Run the Isophotes command from View menu and enter the parameters as follows (note, the X-dim and Y-dim have by default the values of the current image size!):
Click OK for display the result.
If you don't like this result, you can undo this change by clicking the Undo button
![]() on the toolbar.
Try various values for (high, low) threshold, the step between isophotes or
options (false colors, ...).
on the toolbar.
Try various values for (high, low) threshold, the step between isophotes or
options (false colors, ...).
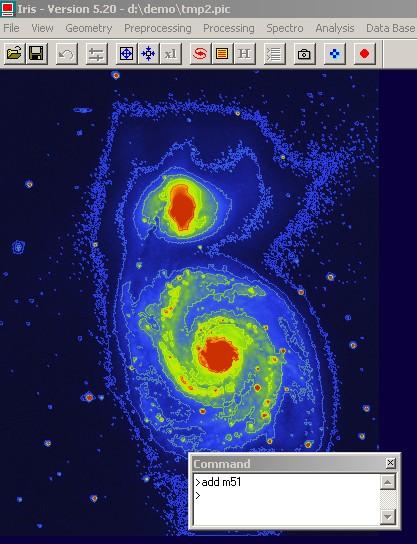
Because the grey level and isophote images of M51 have the same size, you can add this two images. For this use the console command ADD:
Draw 3D view
Load M51 image, and run the 3D command on View menu...
|
|
|
Write a text
The TEXT command allows to write a text in the image. This function modifies the intensity of the pixels in memory. You can cancel the operation by using the "undo" tools bar button.
Syntax is: TEXT [TEXT] [X] [Y] [INTENSITY]
[ TEXT ] is the contents of the text.
[ X ] and [
Y ] are the coordinates in pixels of the position of the beginning of the
text.
[ INTENSITY ] is the intensity of the text, a number ranging between 0
and 32767.
Example:
>Text Zeta_Tau_____April_2002 30 5 32000
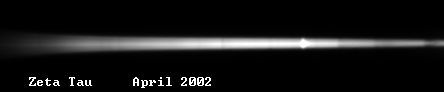
Note the use of the character " _ " for write a white symbol.