|
|
|
Overview of some accessories for your scope
Introduction (I) What a pity isn't it, to not optimize the use of an expensive astronomy instrument ! Better to use it in various working conditions instead of leaving it in the cellar or decorate your office or your living room because of it lacks of accessories or because you don't think using it differently. To complete your scope and be able to use it in most working conditions, you should immediately think to add it some very useful accessories, some very cheap others more expensive, some being true high-tech devices. Why not. I already heard you telling me : "Why such a determination ? Is this really useful ? By default my scope was delivered with a complete set of accessories... What else can I buy ? You are both right and wrong. In selling you a telescope, the manufacturer designed a complete set of parts suited for the "average observer" without advanced knowledge of optical design, scope engineering, electronics and applied sciences (sun study, spectroscopy, etc). If your scope can be advantageously used in many circumstances, in numerous fields however it will be limited by the design of its accessories, their quality and performances, some spreading the incoming light, others creating optical aberrations or simply generating unattended artifacts. On the contrary, high-end complete models are full equipped with quality accessories but at a price reaching also unreachable heights. So if you are a serious amateur you should balance the price versus the quality and select the best accessories in a fixed prices range without necessary checking the absolute value of the accessory versus the one of your scope. To read : Sky & Telescope Hot Products 2010 - 2011 - 2012 - 2013 - 2014
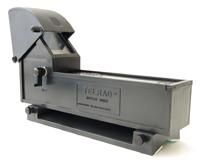
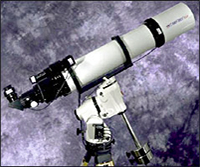
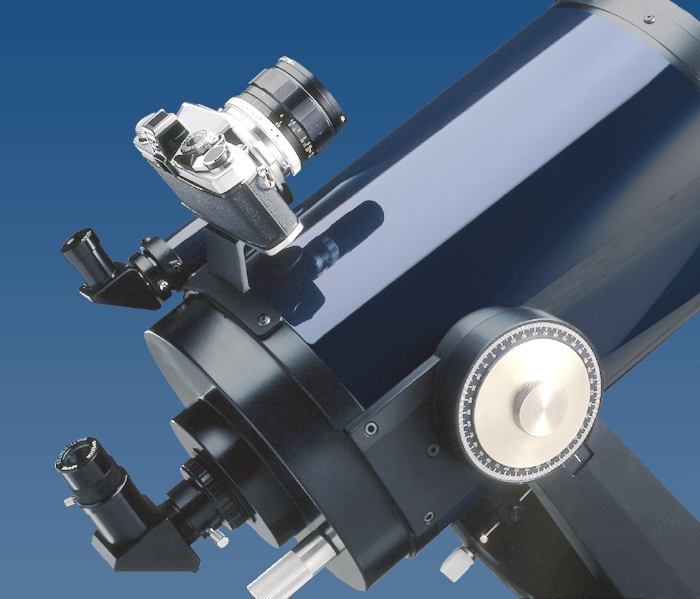
Eyepieces An eyepiece theoretically consists of a simple observation "magnifying glass". It is used to enlarge the image coming from the primary objective (lens or mirror). This is so true that it happened that an amateur who forgot his eyepieces at home used the magnifying glass supplied with his Swiss army knife. He reported on an American forum that he was very surprised by the good quality of the image, which surprised more than one reader. In fact, you should know that it is above all the lens which guarantees the quality of your image and not the eyepiece, because an eyepiece, however perfect it may be, will never be able to straighten a distorted image or cancel out aberrations. Its role is to enlarge the image without adding new aberrations. So as not to overload this review, we will discuss the eyepieces in detail in the article entitled How to select an eyepiece ? As said Jack Marling from Lumicon, "Your eyepiece is the half of your scope, so choice the best." Therefore you will often see amateurs observatories equipped of accessories sometimes as expensive as their scope. But in the narrow field of amateur astronomy, quality has a price. RedDot finder Any astronomical instrument should be equipped with a finderscope, a small auxiliary telescope (6x30, 8x50 or even larger) to roughly center your scope on the object you wish to observe or picture. It also remains useful on GoTo systems to carry out station setup and initial alignment on three sky objects. But if a small guiding scope can be useful, in the middle of the night it is no easy to use such a small lens to locate a star or a planet. In the 1970s, the American Steve Kufeld put on the market a revolutionary sighting system based on the sighting systems of bomber planes, the "Telrad" presented below on the left. It is a system of markers consisting no longer of a cruxiform reticle but of two concentric red circles projected by a low voltage LED (it is not a laser) through a collimating lens on a glass inclined at 45°. It offers the advantage of not enlarging the image and not displaying an inverted image of the targeted objects. It also allows you to project transparent sky maps.
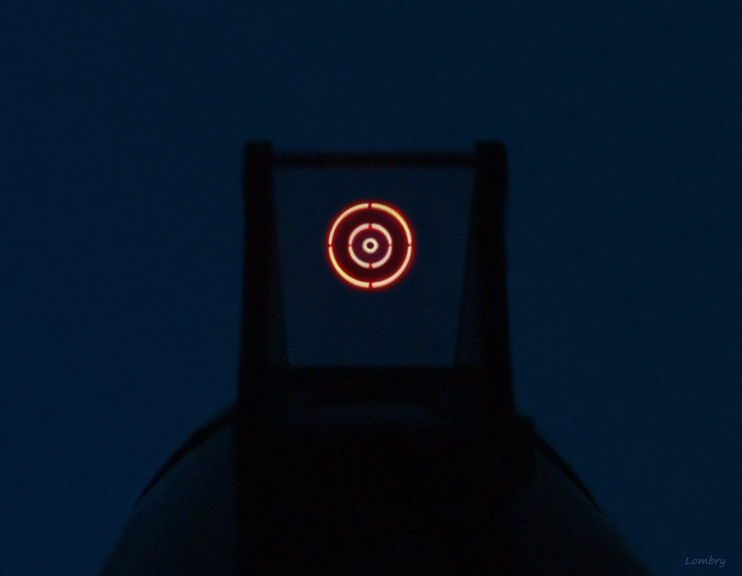
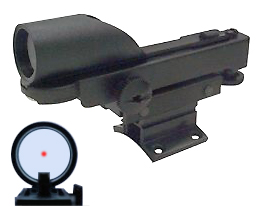
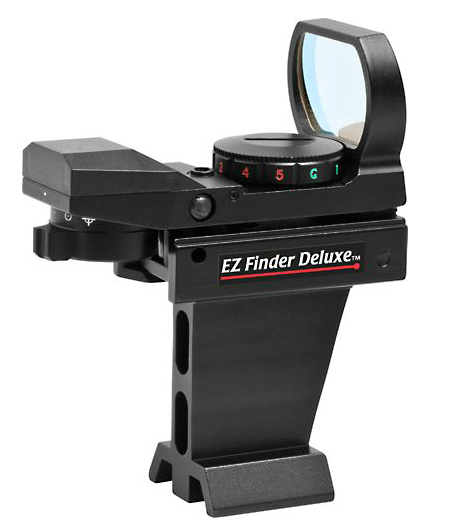
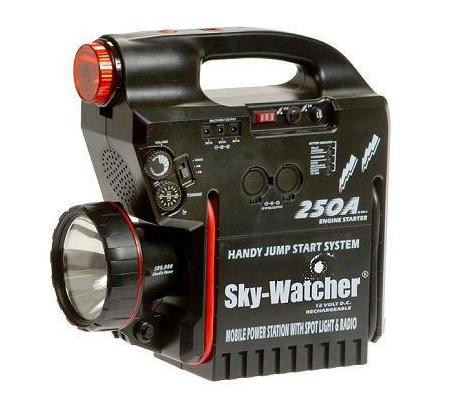
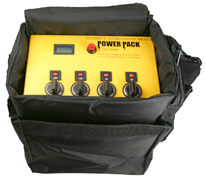
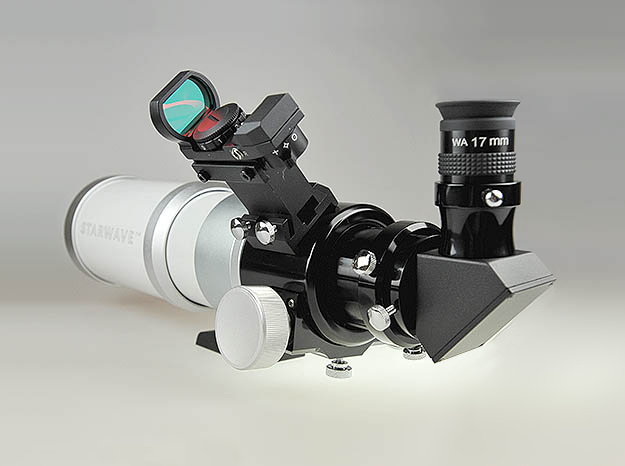
Since the venerable pioneer "Telrad" always available, several manufacturers have proposed more compact models derived from the hunting weapons, the "RedDot". A red dot emitted by a low voltage LED - it is not a laser - is projected onto a semi-reflecting mirror oriented in the axis of the scope. By an optical effect, the red dot appears by projection into the sky and makes the localisation of objects very easily with a great accuracy. There are also models derived from the "Head Up Display" (HUD) used by airplane pilots. Sold a few tens of euros, this kind of finder is much more effective than the traditional model and tends to become a standard accessory. This accessory is available in many and more or less sophisticated versions to name the Tele Vue Starbeam RedDot and HUD models such as Orion EZ Finder II and DeLuxe II or William Optics Red Dot Finder which is available to several european resellers. Here is the Altair Red Dot Finder fixed on a Starwave 70 mm f/6 ED refractor. Note that the RDF and other RDA viewfinders have an anti-reflective coating and can display different "red dot" reticles with an adjustable brightness. The finder remains useful on altazimutal mounts although those equipped with a GoTo system find themselves the requested celestial bodies. The finder is still necessary to perform a polar alignment of scopes not equipped with a GPS, the latter giving to the system the coordinates of the two or three reference stars so that the embedded guiding program can calibrate the scope and recognize the local sky. However, on a GoTo and GPS mount, the finder is useless because after have placed the mount toward the North as indicated in the manual that must be read completely, the system performs alone the calibration on two or three stars. You have only to validate its choice. Battery and AC adapter With a scope driven by a motor, after the eyepieces, the main accessory to not forget is its power supply, usually a battery (and fully charged !). It is always sad to be out of power in the field by a very clear and dark night, all the more if you have prepare it during some hours. If a small motorized telescope used visually can work some hours on AA batteries or on a small 12 V / 7 Ah external battery, more complex installations and specially those used for astrophotogtraphy require a battery delivering 12 V / 17 Ah or even more. A 12 V / 17 Ah battery is mandatory if you use many powered accessories like a motorized mount, a GoTo console, dew removers, a CCD camera, a filter wheel, a flat field screen, a derotator, a portable computer, a StarSense AutoAlign, an illuminated eyepiece, a guiding CCD, etc. All this material sometimes used simultaneously requires an external battery powerful enough to feed them all during several hours.
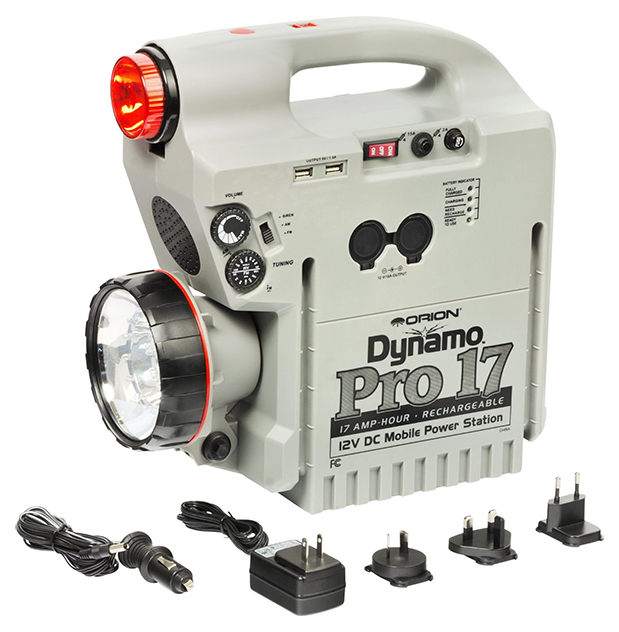
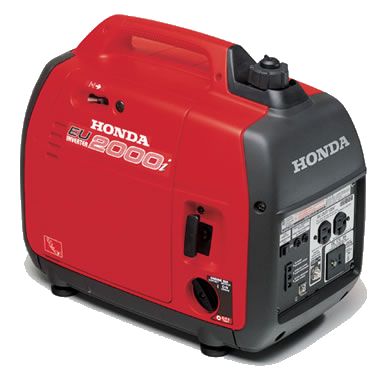
For small scopes as the NexStar 5 consumming 750 mA per hour, Orion Telescope & Binoculars sell a small "Dynamo" rechargeable battery of 12 V DC / 7 A ($57) and well as 17 A model ($109). Your local motorcycle dealer, "Wallmart", "Do-it-Yourself" shopping center or even a garagist should sell cheaper models providing similar power. A scope like Meade 12" LX200 is a current hungry and needs a 12 V / 17 A battery ($119-290) while Celestron 12" Ultima 2000 asks only for 12 A. Both models of batteries are available via their network of dealers or from Kendrick Astro Instrument. If you observe in your garden at a few meters from your home, you will find the AC Adapter 12V/120V or 12V/220V also very useful. Several dealers provide theses accessories as well as power cords to connect to standard cigarette lighter. Note that the DC/AC inverter from Radio Shack is another possibility but this accessory is quite expensive. At last, name the hand held Honda EU2000i generator. It provides 12 V DC, 2000 W and 16.7 A (noise is 59 dB, size 51x29x42 cm, its weight is 23 kg, $1080). This model are available in Europe at Honda Belgium for example.
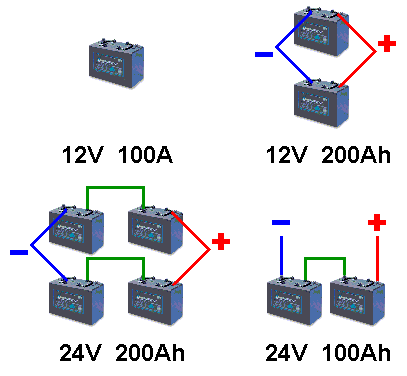
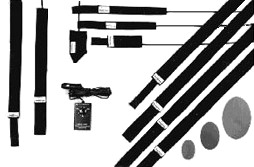
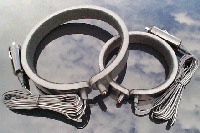
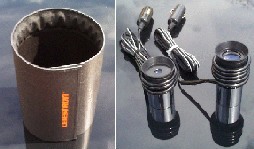
Remember that indications like "12 V / 75 Ah / 400 A" that we found of car batteries means that the 12-V battery sustains a charge of 75 Ah during 1 hour at 20°C. In other words, it delivers a current of 7.5 A during 10 hours. "400 A" means that the 12-V battery can deliver a current of 400 A by -18 °C during 30 seconds without the tension falls below 1.4 V per element. Dew Remover and Dewcap No worst thing may happen that assisting powerless to the deposit of moisture on your lenses and accessories during the winter. If you are confronted to this unpleasant situation which often cancels your observation session, avoid from now to offer it cold surfaces ! Do not hesitate to invest a few money in the Kendrick Astro Instruments Dewshield and other Astrozap Chape (8" at about $35-50) to fix on top of your scope. Proof of their qality, they are supported by Astro-Physics. The best solution is to invest in an electrical dew remover, a small flexible heater (resistance) working on battery that warms your lenses during your session. Many models exists adapted to small or larger scopes. They are available to most dealers.
Note that using such electrical accessories you have to bring with you a 12V battery. But be care. Such accessories can be detected by your CCD and create severe problems too... Remark than these dew removers are not suited for the primary mirror. From optical studies on larger size mirrors, we can say that mirror seeing is not as sensitive to the cold mirror as the warm mirror. The first has a drainage flow and the second has convection currents. The flow over a cold mirror (often tipped) is thin and slow but shows layer. To avoid all these aberrations my best advice should be to say keep your scope as close to the outside air temperature as possible and let it warm up slowly for at least one hour before your night session. If your optical system is isothermal any ordinary mechanical turbulence (low speed) will not degrade the seeing. Piggyback astrophotography There are many ways of doing astrophotography, from snapshots to long expositions at low or high resolution. The easiest way is without any doubt the "Piggyback", clamping a padded camera mount around your scope OTA and tracking the stars at the eyepiece or using a autoguiding CCD. Many dealers provide these accessories which price is ranging between $50-100. To read : Review of iOptron SkyTracker, Sky & Telescope, 2013
If you do not own a telescope but only a DSLR or a CCD camera, a very interesting solution is the mini-equatorial mount "SkyTracker" from iOptron. It is much more compact than any equatorial mount and allows you to record general pictures of the sky in tracking mode during a few minutes without problem. It is fed with 4 AA batteries or on DC. Do not forget to order in the same time the adapted tripod. Next chapter Star diagonal and other optics |
|||||||||||||||||||||||||||||||||||||||||||||||||||||||||||||||||||||||||||||||||||||||||||||||||||||||


