| "Virtual Equatorial" digital imaging | |||
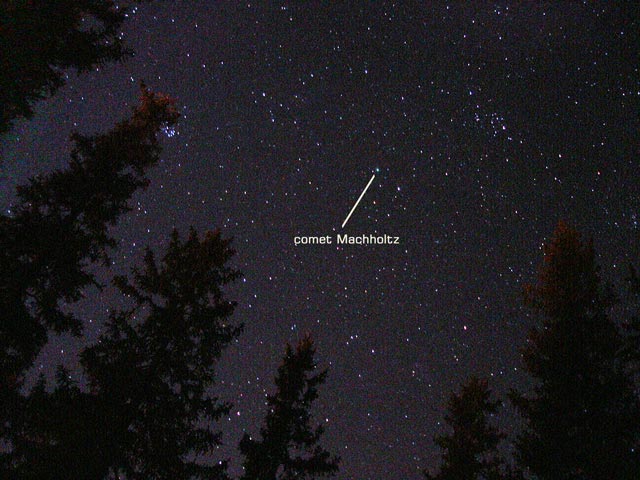
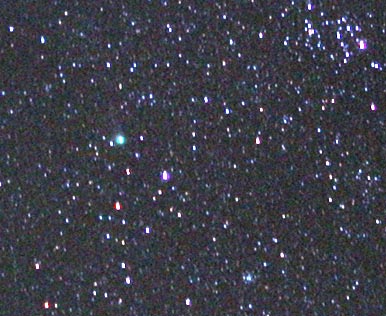
| Carrying an equatorial mount is not always possible. The opportunity of a clear sky in the french Alpes mountains and the presence of the Machholtz comet allowed me to test the new Iris feature of the Virtual Equatorial with a very, very minimal instrumentation.
For french version, click here |
|||
| Instrument and Acquisition |
When you travel for a ski week-end, you usually do not take your equatorial mount with you. Nevertheless, the attraction of a clear mountain sky and a comet bright enough decided me to test what I will call "the astro minimal kit".
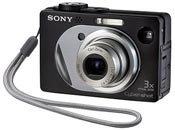
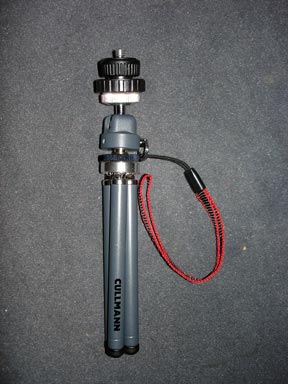
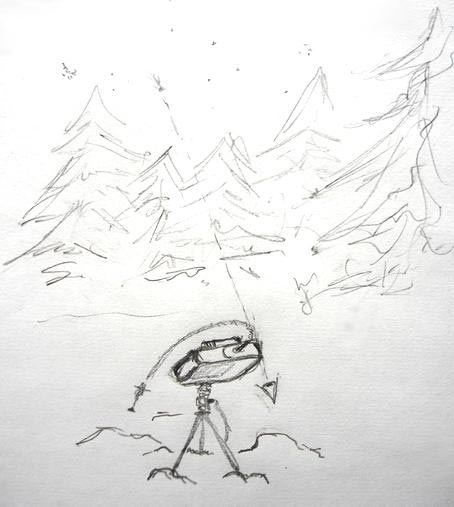
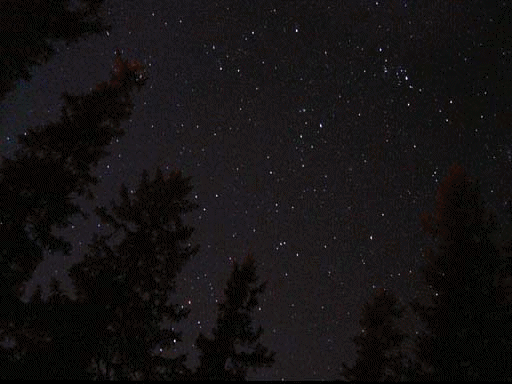
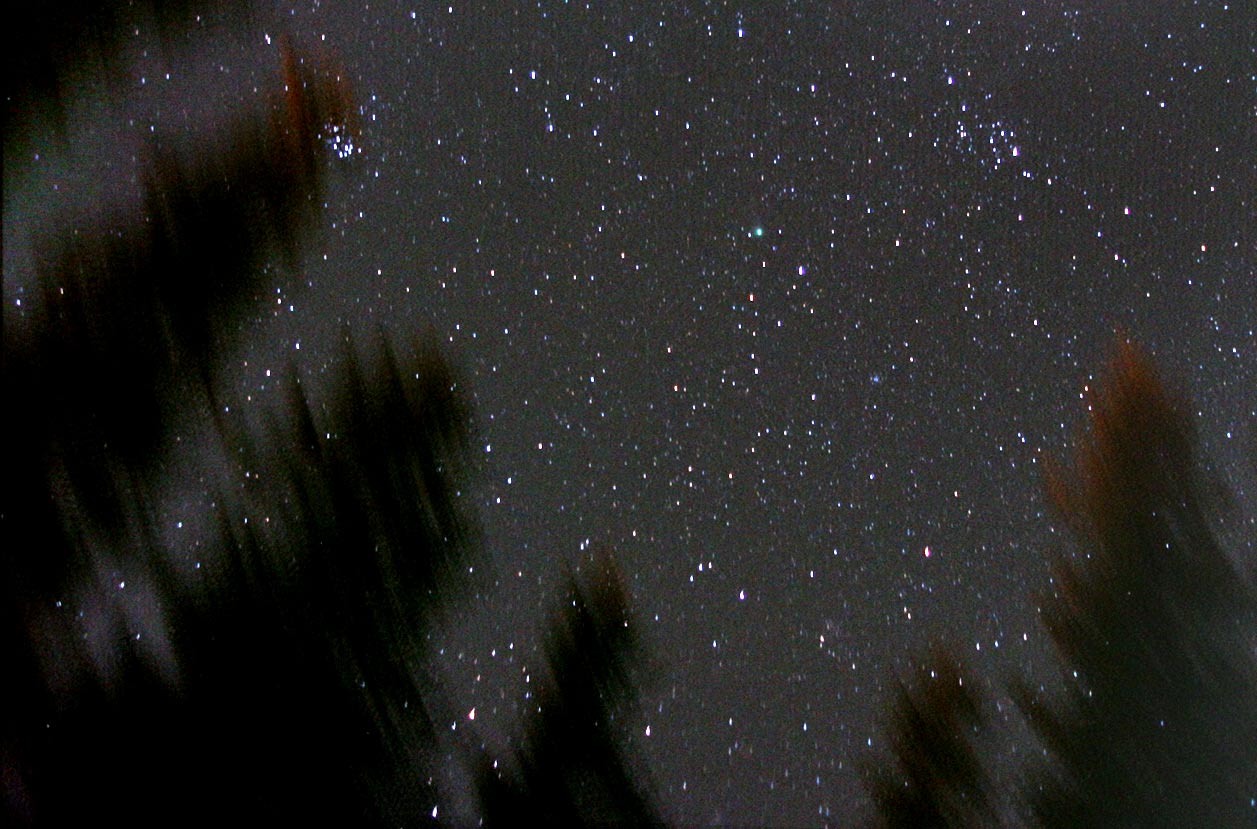
The digital camera Sony DSC-W12 has a 1:1.8" CCD sensor, of the 5Mega pixel class. It has a very large LCD screen to ease image review and pointing but was in this case useless as the comet was high in the sky, close to zenith. The acquisition parameters Set in mode M, image quality in "Fine", focus locked at infinity, exposure duration at 30s, zoom at min (7.9mm) and Iso at 400. The acquisition site A ski resort is a not the best site for astro-imaging... lot of city lights. The first thing was to find a spot where those lights are dimmed by pinetrees. The next drawback was that my tripod beeing very small, the camera was very close to the ground, which was snow. To point the comet, the only way was to lay-on the snow and try to direct the camera body toward what was supposed to be the faint comet.
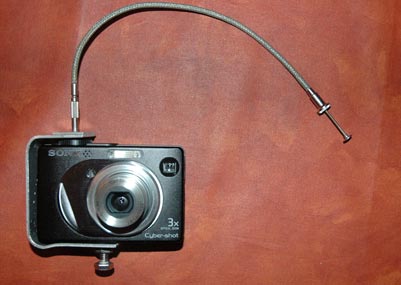
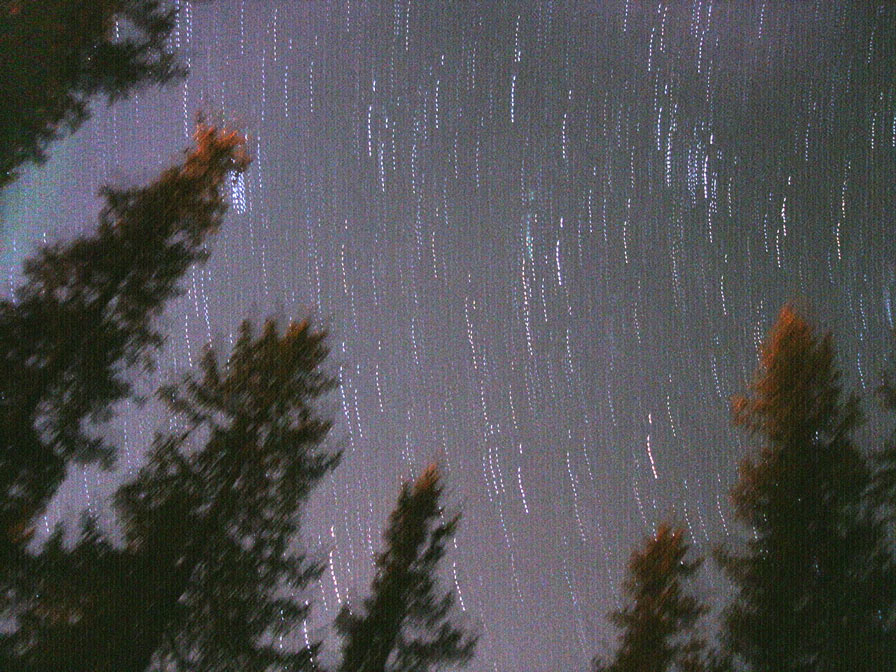
To prepare observation, I use Planetarium software from AHo software on my palm, a sony clie. You can enter comet and asteroids elements, make your own list of object and upload it, the color screen and graphics are easely readable and all basic functions are accessible in few clicks. The beauty of Handled-device like Palm or Pocket PC is that they boot in a second... Acquisition sequence A sequence of 11 images, each of them of 30 sec. This was a little bit too long to not have star motion blur. Also, the use of a flexible was really practical in this case. The alternative would have been to use the delay button. The risk is that you screw up the pointing when arming the next exposure and reselect the delayed mode on the rear of the camera. Also, was quite nice to be able to keep the gloves during the sequence... |
|||||||||||||||||||||||||||||||||||||||||

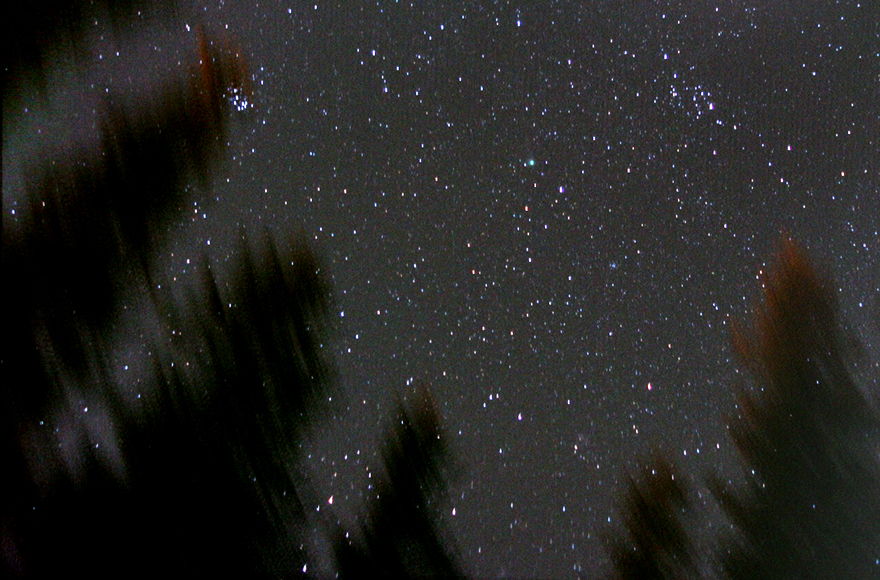
| Image processing |
|
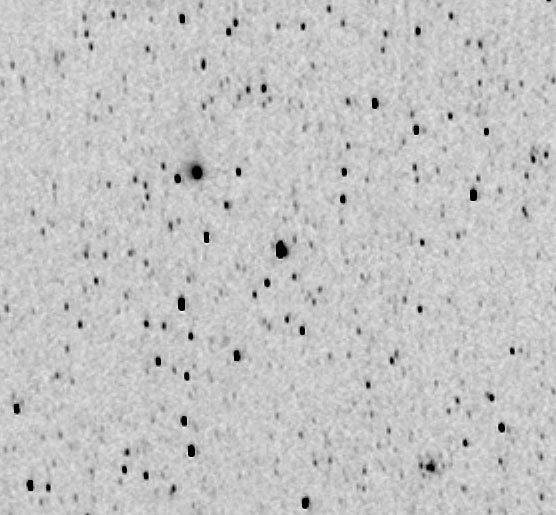
You have to first get the Iris 4.30 or above version on Christian's site. The first operation is to convert the jpg images in .pic (or .fit) format. Unfortunatly there is no batch command in iris to do this unless you rename first your 11 images with a name like name1.jpg, name2.jpg, etc. With DSC00023.jpg, DSC00024.jpg type sequence, the index does not start at 1 and Iris command are not able to process it with the jpg2pic command...
As all images have a dark subtracted, there is no need to process dark here. No flat either, but it could have been a good idea to make one. To register the sequence you can then either perform the manual star selection as explained on the web site of Iris or use the "re-discovered" powerful coregister function. The requirement is to preset the polynome degree of the distorsion to 2 to accomodate with field rotation. For a sequence of 11 images, m1...m11 - registration done on the first image. The sequence is as simple as: SETREGISTER 2 COREGISTER m1 m2 SAVE K2 COREGISTER M1 M3 SAVE K3 Repeat up to last image of the sequence... here I have 11 images LOAD M1 SAVE K1 ADD2 k 11 Change display thresholds adequatly to increase the image contrast - a background correction has been performed: command POINTON, manual clicks on the image background (several dozens), POLY, SYNTHE - POINTOFF to return to normal pointing mode. The automatic SUBSKY function here does not give good results because of the presence of the dark areas of the pinetrees
|
| So, is it the revolution ? |
|
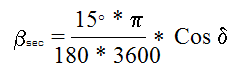
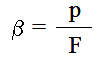
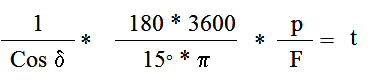
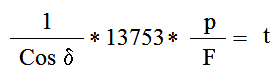
| Exposure duration computation |
|
||||||||||||||||||||||||||||||||||||||||||||||||||||||
