My flat field box
Considering that I've tested many of the
above methods, and that I'd like to have a very uniform flat field,
I've found that the best compromise between quality and cost is a flat
field box. Many online projects are available, and I've taken the best
from each, to build my own with available supplies from local stores.Key points are:
- light sources: I've used white LEDs because of their efficiency. Usually white leds are available with internal parabolic reflector that produce a narrow beam. On the opposite a diffuse light source is necessary. I've found at my local store some new flat leds, that produce a highly diffused light. Moreover their temperature color is 5000 K (worm light), more similar to the Sun than the usually available 2500 K leds (cold light).
- diffusive surfaces: I've found an opal plexiglass of 2 mm thickness that is perfect for the purpose.
- box material: many solutions are possible, but I've found a corrugated plastic material that is very solid and easily workable. This is sold in Italy as "polionda", that can be translated in english as "polywave".
- adjustable light intensity: obtained using a potentiometer. Be aware that a power potentiometer must be used, such as the ones of "wire" kind.
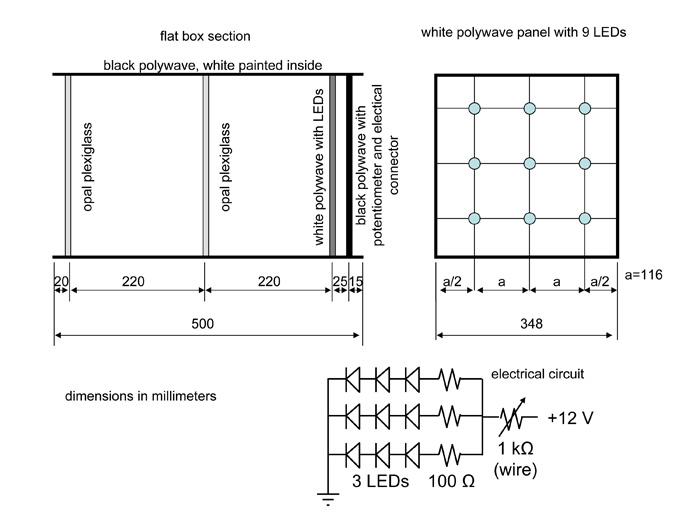
The mechanical and electrical schemes for my 350mm front panel flat box.
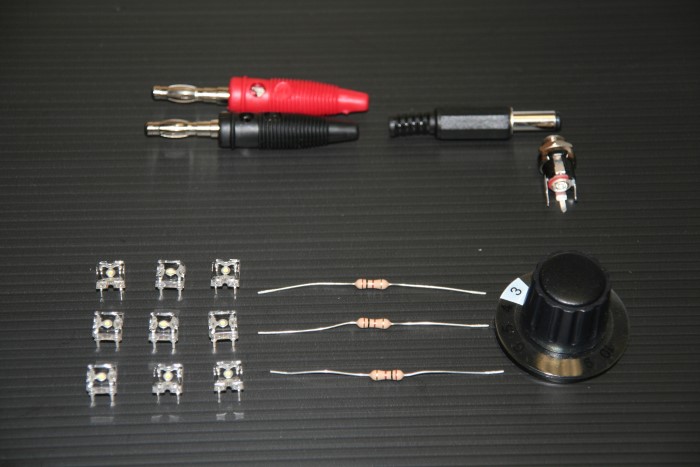
The electrical parts used, from the bottom left counterclockwise: 9 leds, 100 ohm resistors, a 1 kohm wire potentiometer, a female-male connector and standard red/black connectors.
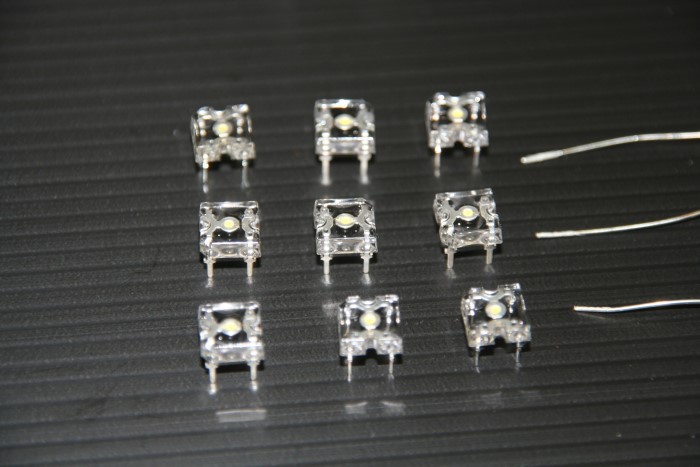
Detail of the 9 flat leds with diffused light and 5000 K color temperature
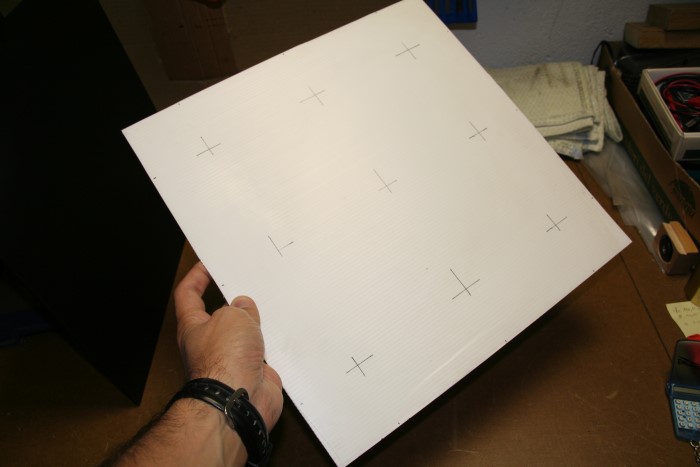
A white polywave panel with the led positions. An advantage of this material is that can be easily perforated by the pins of the leds.
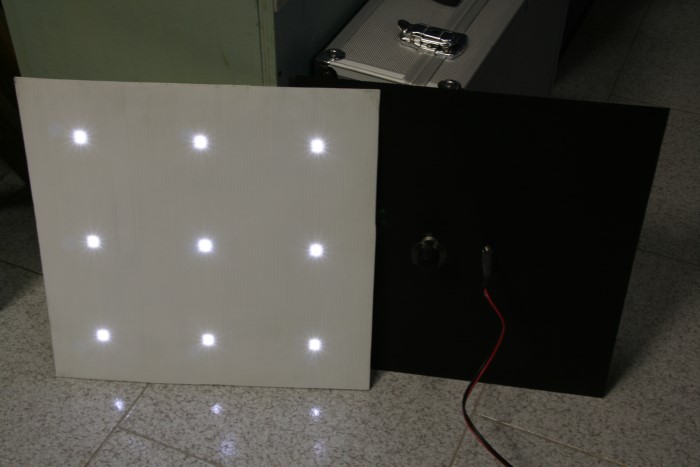
The white panel with the 9 leds and the black panel with the potentiometer and power supply connector.
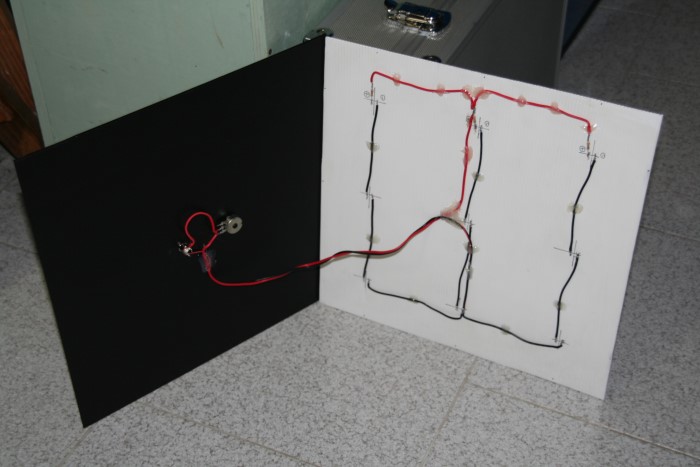
The backside of the above panels.

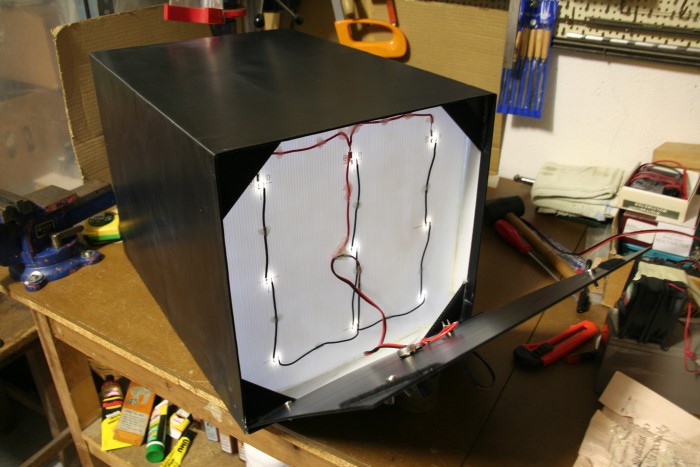
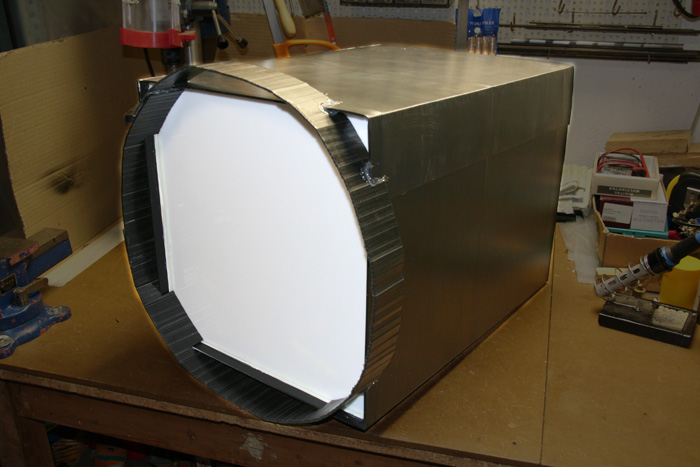
The black polywave box must be painted white on the internal side. On the left, one of the two opal plexiglass panels. To fix the many parts, I've used the hot glue. This makes a very rigid connections that was able to resist even after a falling off of the finished box from a heigth of 1,5 m...
Backside of the flat box, with the back black panel removed. The fixing of this is obtained with velcro strips on the four corners.
The flat box from the front, with only one plexiglass panel, in the center. Note that the uniformity is quite good even with only one panel, thanks to the flat leds.
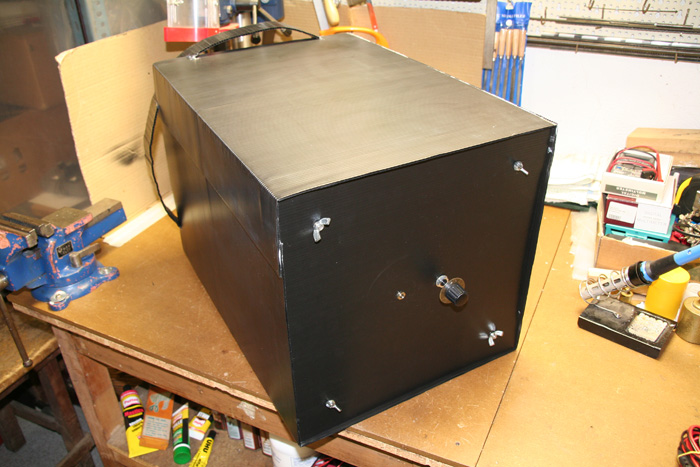
Back of the finished flat box, with the potentiometer and power supply connector
Front of the flat box, with a round mounting flange for my telescope.
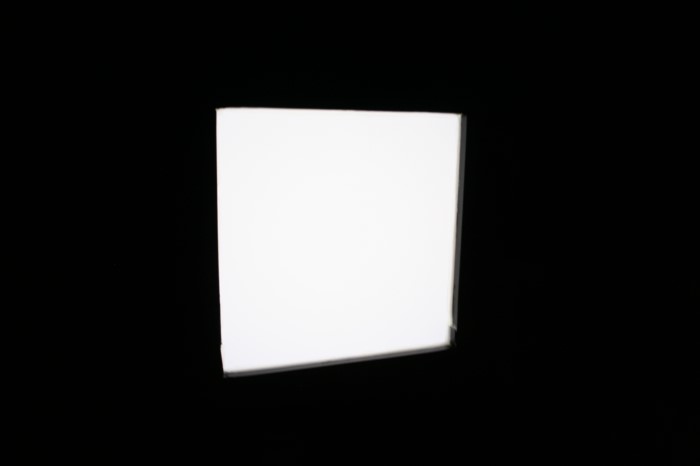
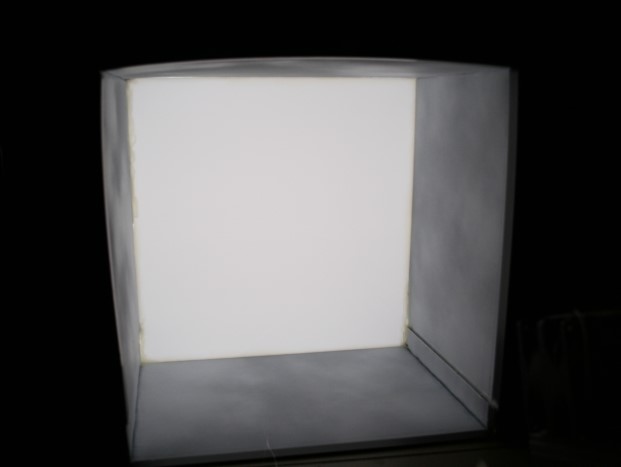
Image of the panel uniform brightness, in the dark.
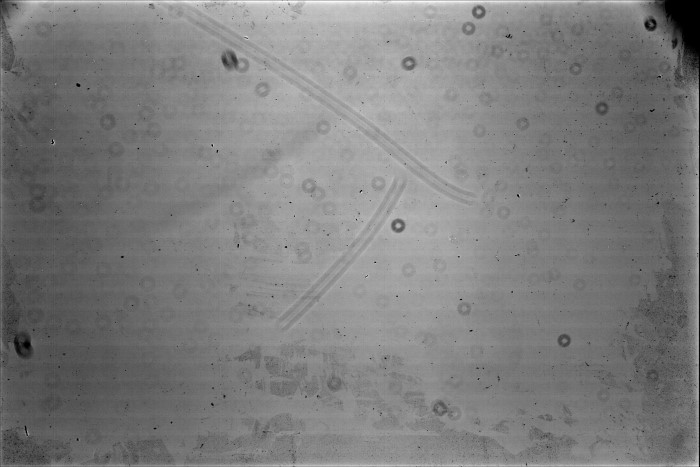
An example of a flat field frame obtained with my flat box. This is the average of 50 frames of 120 s, using a 6 nm H-alpha filter. A long exposure was used to overcome the problem of the shutter vignetting with short exposure times. Note the dust on the sensor surface (black points and gray areas at bottom), and on front lens (doughnuts and filaments). Moreover strong vignetting is evident in the upper right corner, and -smoother- on the whole area, centered. And also horizontal bands due to the CCD response are visible.
Conclusions
A good flat field calibration frame
is a must to the demanding astro-photographer. A flat box is a very
good source of uniform light. And it's cheap, compared to other
solutions: the total price for the mechanical and electrical parts are
about 50€, for a 350mm panel. On the other side, the dimensions can be
a problem for the travelling imager. But mine is used in my backyard
observatory, and so dimensions are definitely not a problem.Some other flat field boxes:
- Giovanni Benintende
- Russel Crowman
- Jürgen Stein
- David Haworth
- Mike Dodd, Louise Kurylo
- Renzo del Rosso