- Theoretical Elements
- SHG with a 115/900
- SHG with 90/1300 refractor (p.1
 )
) - SHG with 90/1300 refractor (p.2 )
- Newton 192/950
- Dobson 80/400 'Babydob'
- Ultra-simple solar spectrum
- Misc. electronic layouts
- Misc. optical layouts
- Untransversaliumisator software
- Processing videos software
- "PUSH TO" DIY system
- Radio control RA, Dec & focus
- Focuser 3D pour Vixen 150/750
- Year :
- Synoptic maps :
- Videos
- Maunder's Diagram
- Cycle 23 in images
- Venus Transit 2004
| Spectroheliograms processing
|
||||||||
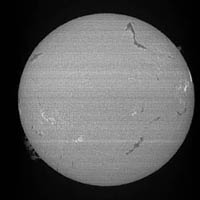
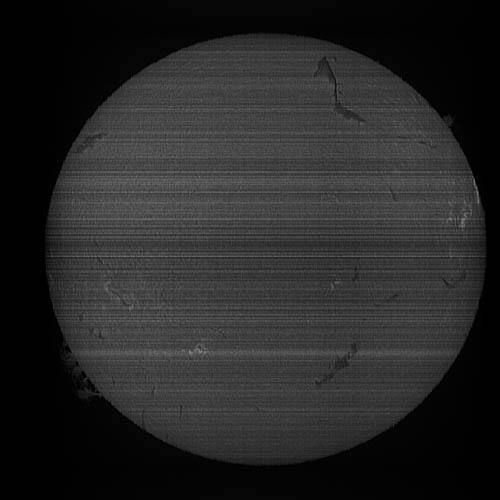
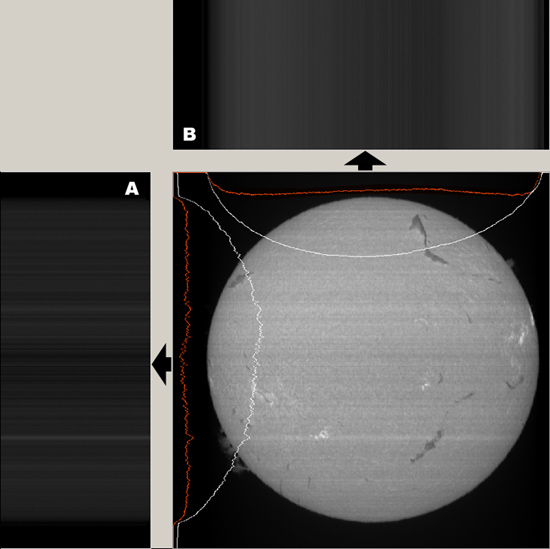
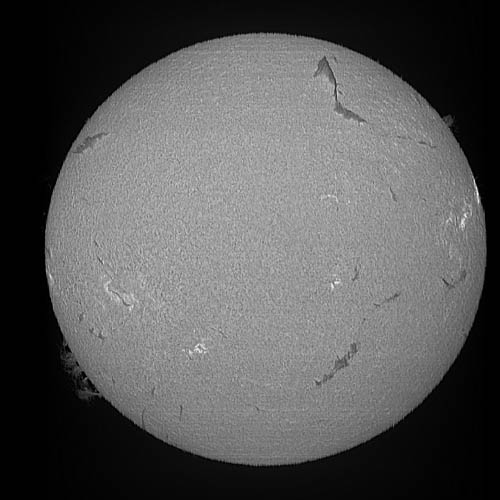
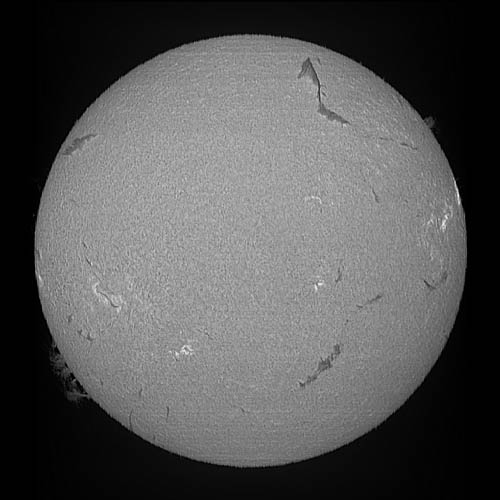
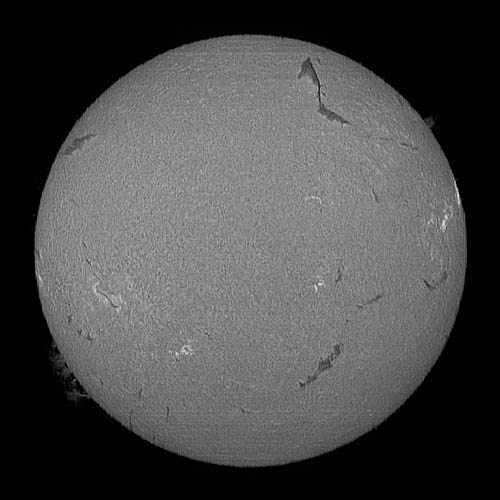
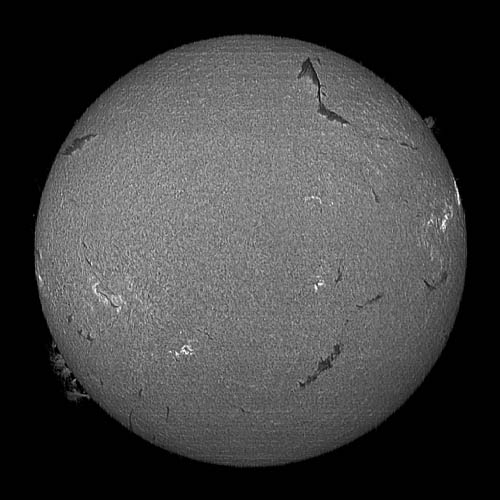
| Spectroheliograms Hα In a general way spectroheliograms are degraded by several kinds of disturbances. They require some process to restore the image geometry, amplifiy the poor contrasted details and obtain a more aesthetic result. I thus ended to a little bit empirical method which answers globally the problem. These modifications do not respect the photometry of the image. Here are the stages of the processing :
      |
||||||||
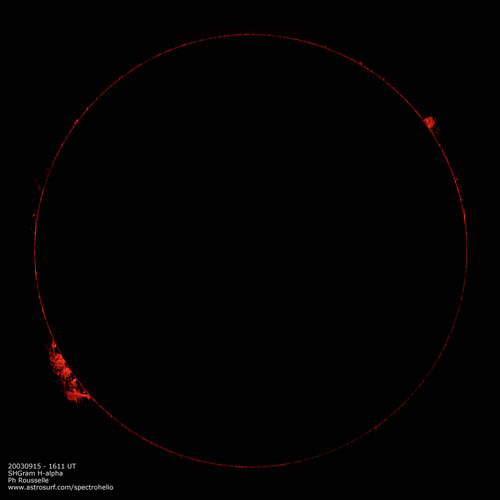
Spectroheliogram in Helium D3 line The Helium D3 spectral line (587,8 nm), quite visible in emission on the prominences, is difficult to perceive on the solar disc where it can be in emission or absorption. After having tried some spectroheliograms with this wavelength, I could note the presence of absorbing structures but with extremely weak contrast. After reading an article of B.J. Labonte (1), I tried to improve the appearance of these absorbing structures. The method consists in taking one image in the helium line, another image near this wavelength in the continuum, and to make the difference of the 2 images. (Ideally, it would be necessary to make average images for each wavelength but, the Sun rotate quickly and it becomes impossible to superimpose images taken with 1/2 h interval). I thus took 2 images with 4 minutes interval, one at 587.6 nm and the other to approximately at 587.3 nm. (Images taken on 14 september 2002). 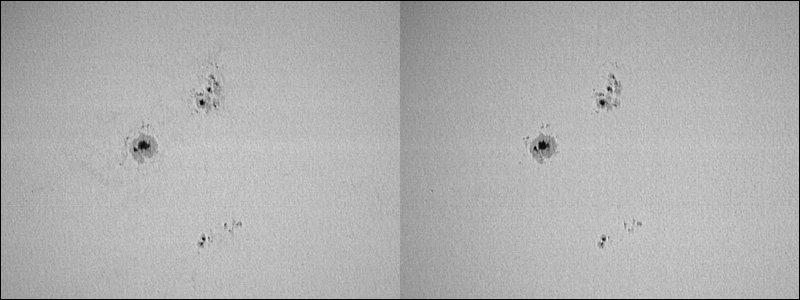 The first step consists in superimposing the 2 images. This is not perfectly done because turbulence causes small random displacements. I thus " smooth " a little bit the images as a preliminary and I eliminate the background of the sky, source of unaesthetic artifacts. The operation "Helium image - continuum image + constant" can be then processed. One obtains a gray image, rather "flat". Second step constists in modification of contrast and brightness to make details more visible. Many artifacts are also increased but it is interesting to compare this image to those taken in Hα or Ca-K lines. Below, left : He amplified and right : Hα.
Below : Direct imaging with spectroheliograph and webcam. NOAA 0775 and 0776 on 14-06-2005 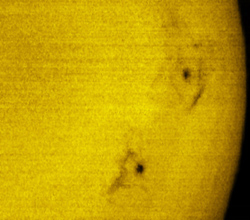 | ||||||||
(1) Labonte B.J., 1977, Solar Physics, 53, 369-374 |
||||||||
| Software for the processing of a spectroheliogram | ||||||||
Here is a remake of my old spectroheliograms cleaning software
download software "Untransversaliumisator"
|
||||||||
 | ||||||||
 |